For those who do not know, paracords were originally used during the World War II as suspension lines for parachutes – parachute cords. At that time paratroopers learned to use it for other purposes as well, and so now it is known as a survival instrument.
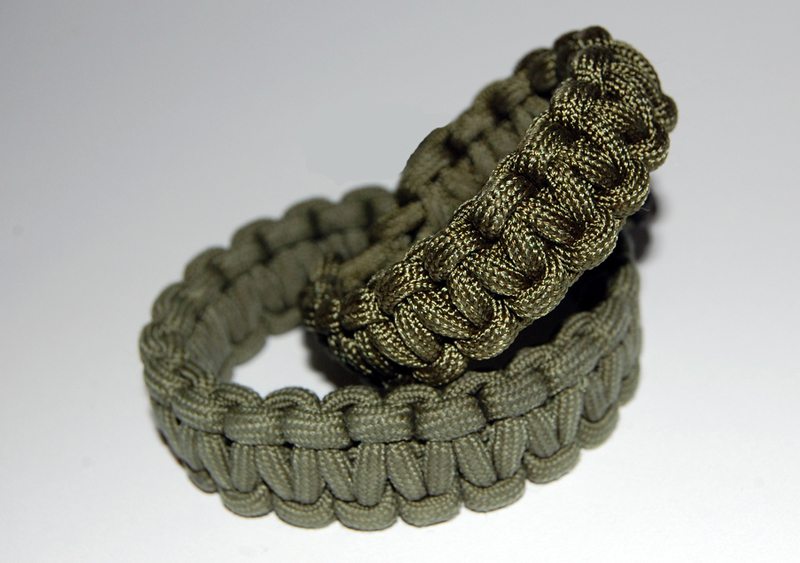
It’s a very useful must-bring item when travelling or going on some adventure. And since everything and anything can happen once we go out of our houses, it would be wise to ALWAYS have a paracord with you. Here are some of the uses for a paracord:
- Build a shelter
- Fish or haunt for food
- Rig a pulley system
- Make a sling for your arm
- Replace broken or missing shoe laces
- Tie things together for easier transport
- Create a hammock
- Start a fire
- Make a tourniquet or hold a splint
- Emergency suture material or dental floss using the inner threads
This tutorial below will teach you how to make a cool bracelet with a paracord which you can easily access during emergency situations.
Materials:
- 550 Paracord (13 ft)
- 1/2 inside release buckle
- Scissors
- Small pliers
- Lighter
Steps:
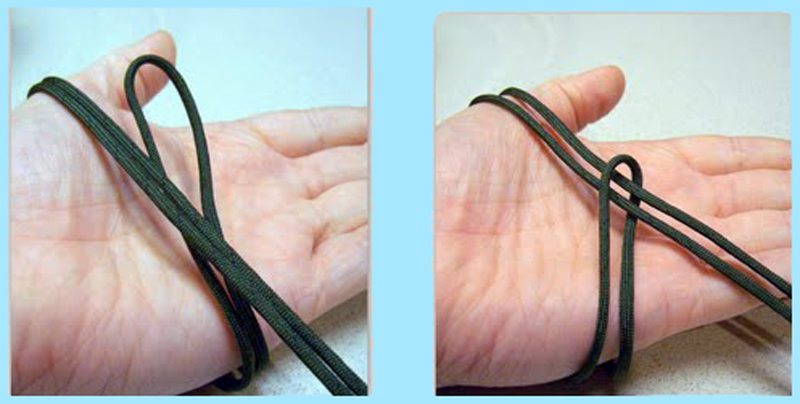
Fold the cord in half, take the cord around your hand and insert the loose ends through the loop. This step serves to determine the exact size of your bracelet, so make sure to measure it on your wrist.
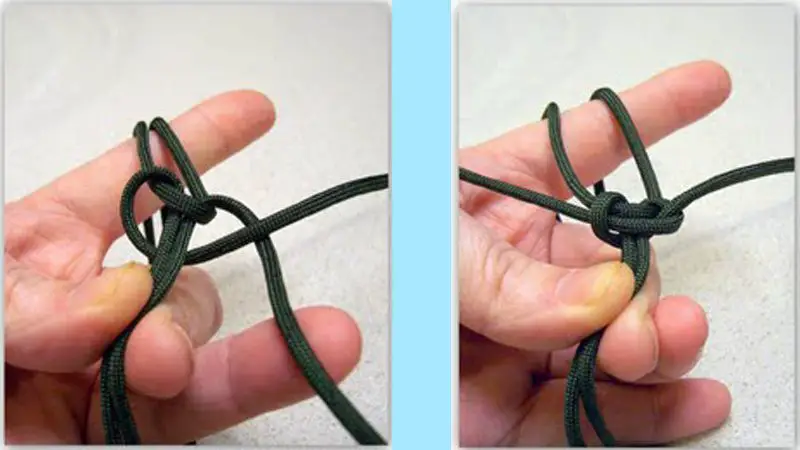
Now turn it around, holding the cord so that the size of your bracelet won’t change. Starting with the left string, pull it under the core and above the right string.
Then hold the right string and insert it through the hole that was made by the left string. Pull tight.
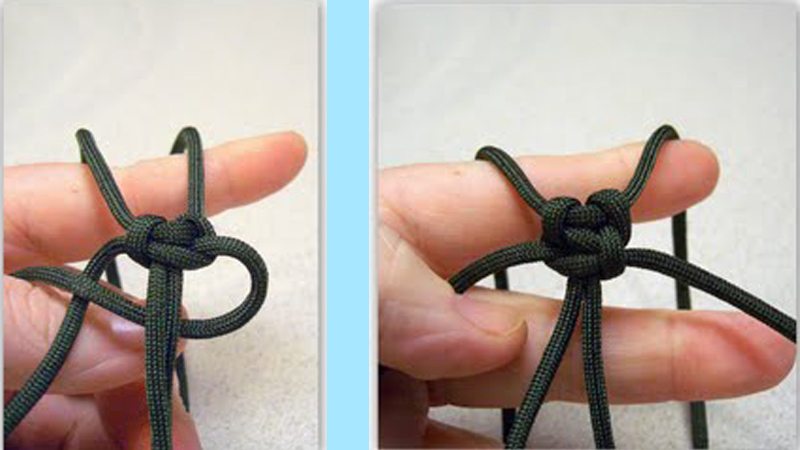
This time start with the right string: pull it under the core and over the left string.
Then take the left string and insert it through the whole made by the right string – just like what you did on the first part.
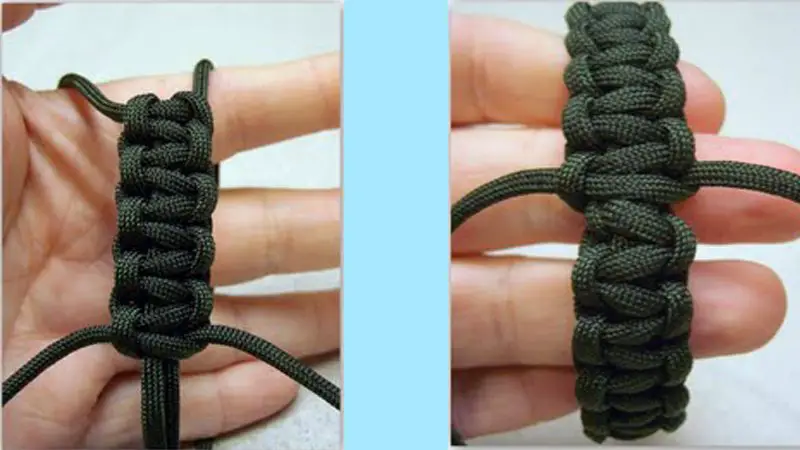
Repeat these steps until you reach the end of your bracelet.
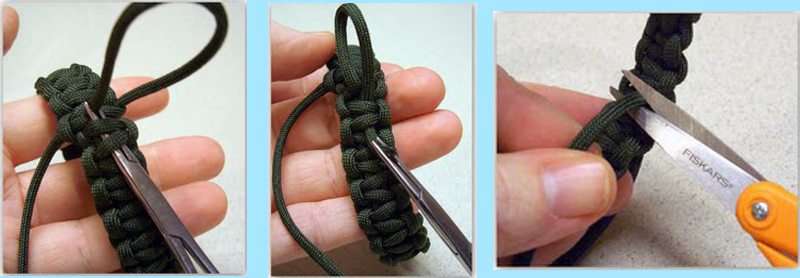
Grab the right string with some small, thin pliers and pull it under at least two of the zigzag lines. Cut the excess string.

Do the same with the left string, this time on the inner side of the bracelet.
Source: Rebecca for Hair


