When you have a toddler who loves to color, the life cycle of crayons can be a bit short – and your own life tends to be a repetition of the previous day. You wake up, open a new box of crayons, watch your kid break them all, and then repeat everything all over again the following day.
Whether they’ve got an obsession with snapping them to pieces, or they just get too excited and break them, your little ones can’t seem to keep those little sticks of wax intact. 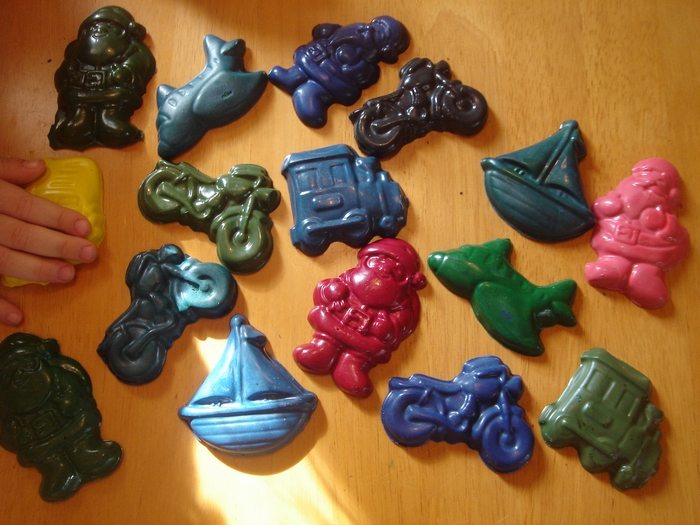
But don’t buy a new set just yet! Here’s a simple way to salvage those wax crayons. :)
Click on any image to start lightbox display. Use your Esc key to close the lightbox.![]()
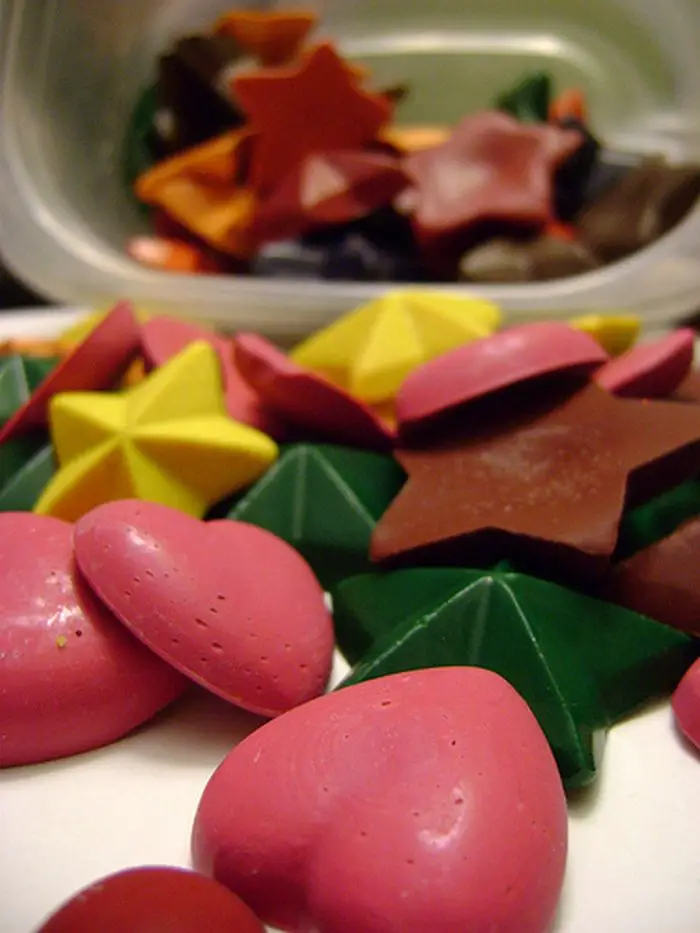
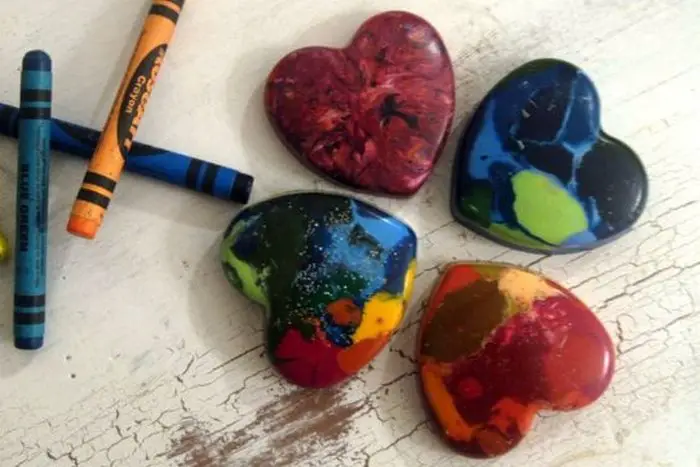
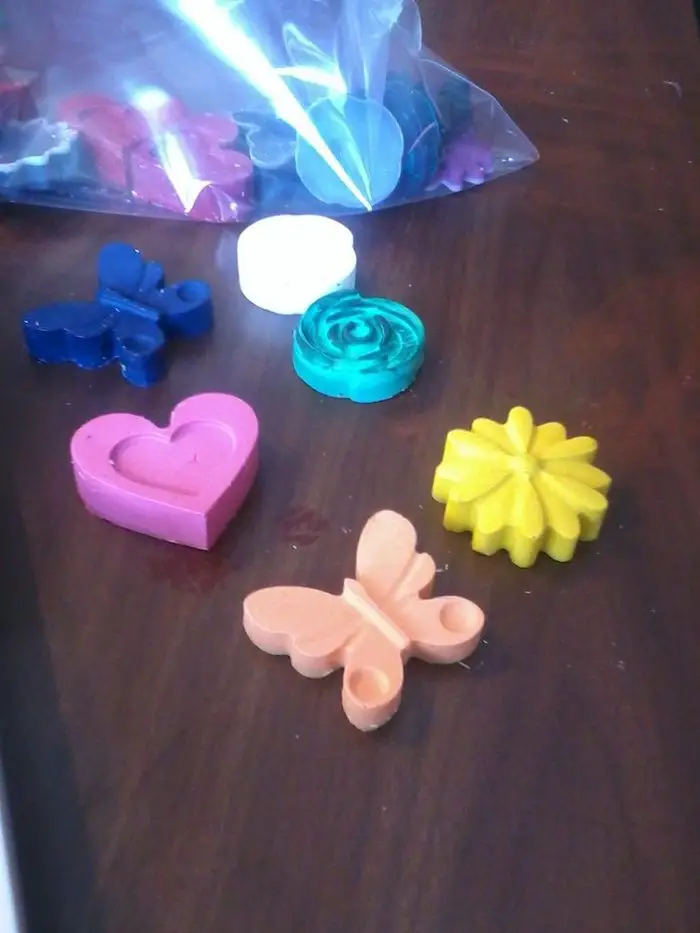
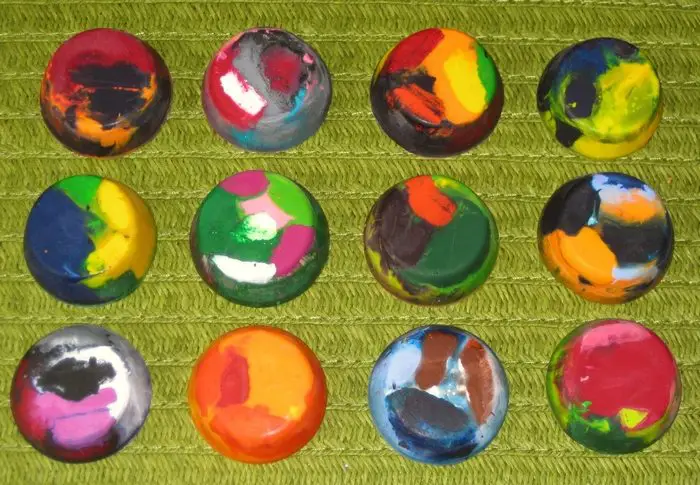
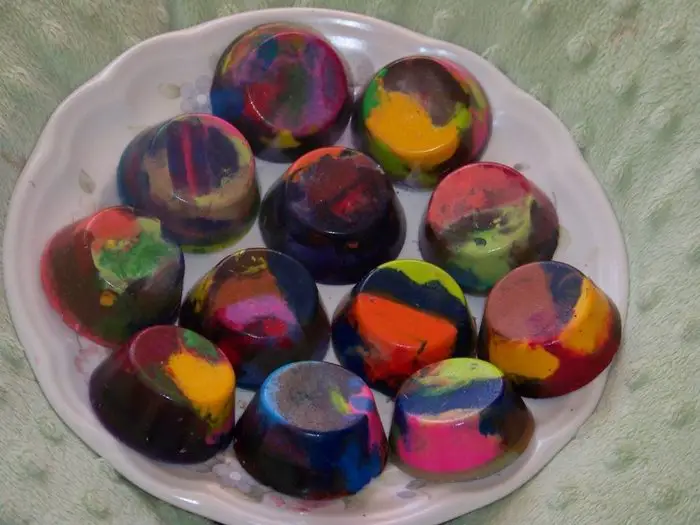

What are the materials you need to modify broken crayons?
What you’ll need:
- Broken crayon pieces, of course
- Small cutting knife
- Silicone mold or small muffin tin
How to modify broken crayons?
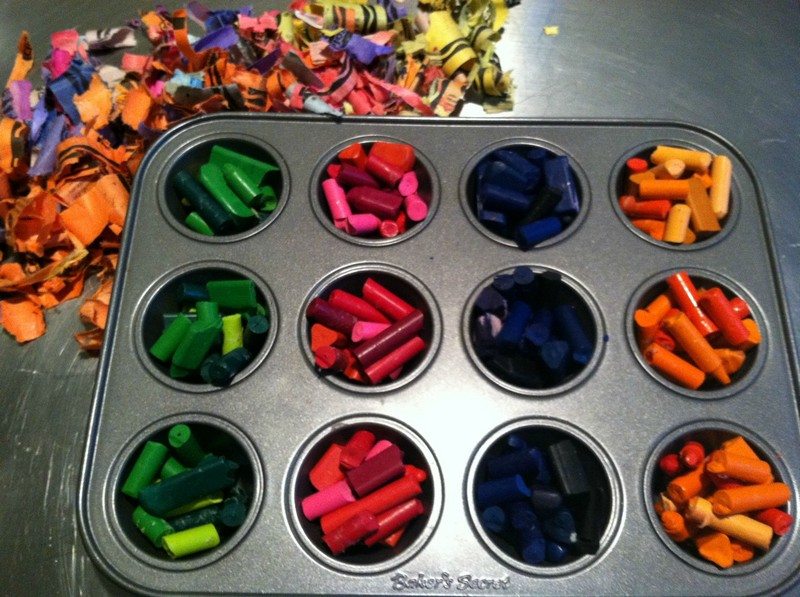
1. Peel the labels of the crayons. Use a small cutting knife for a faster process. And then put the pieces in the muffin tins, separated by color.
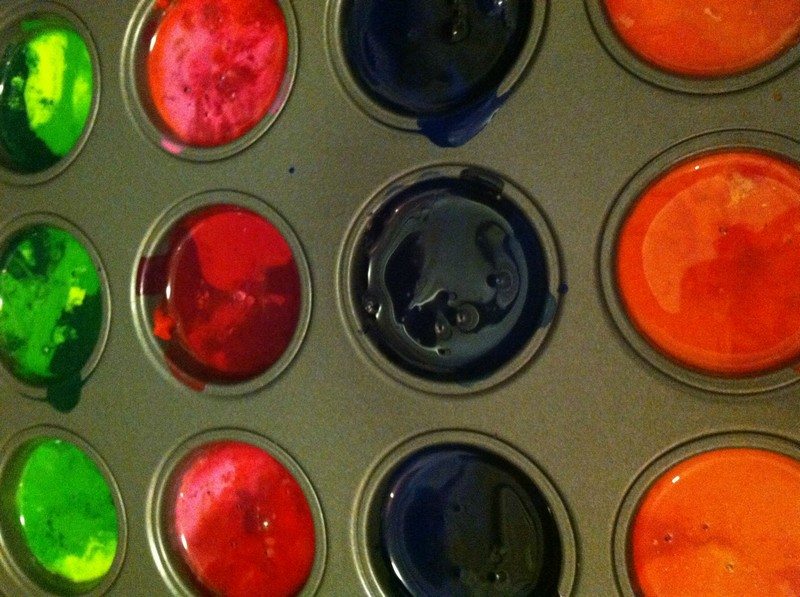
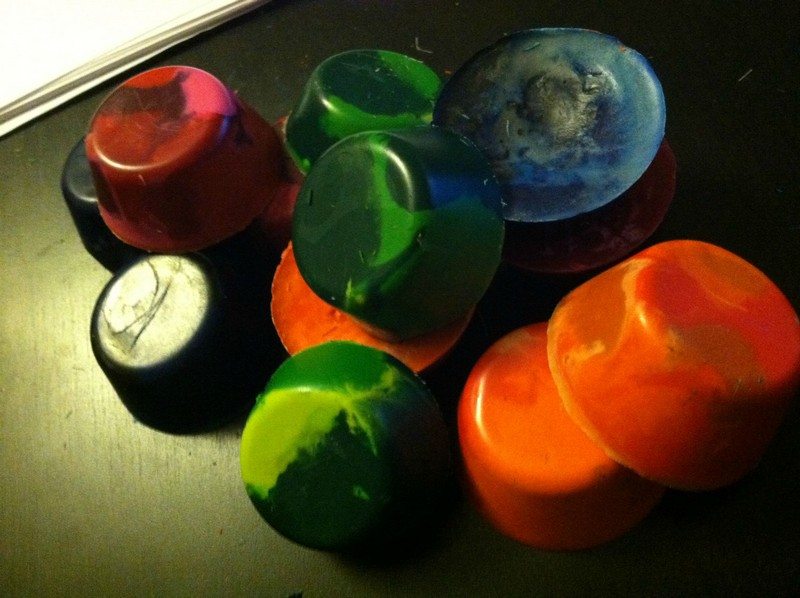
2. Bake in the oven with a 300-degree heat until all pieces have melted. This may take about 10 minutes. You can also use old cans to heat each color and pour in silicone mold of your choice to let it cool.
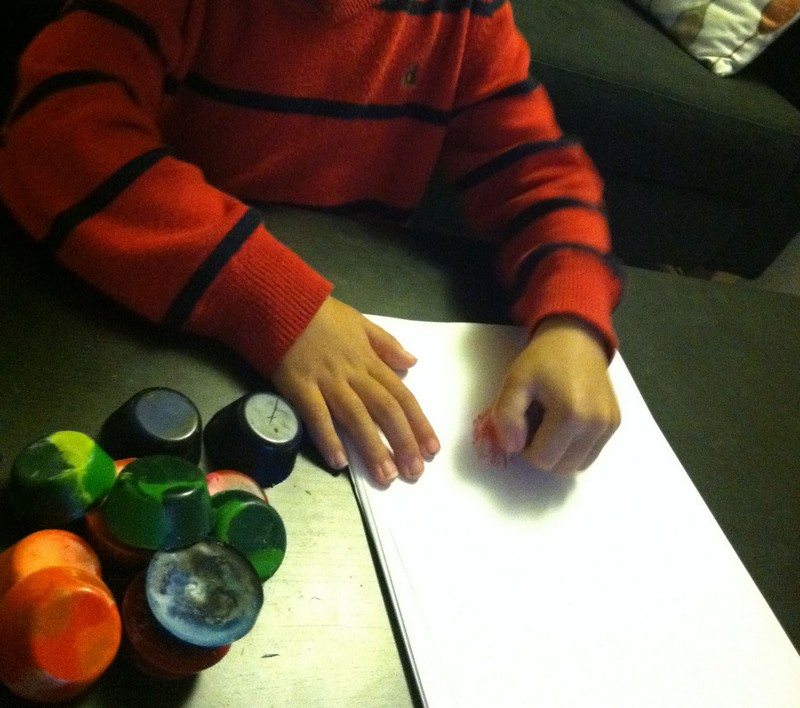
3. Once it has cooled, it should pop out easily. Your kids can now do some colouring activities again.
With muffin tins as mold, your kids can’t break the crayons anymore. Plus, it would be easier for them to grip since they are now big blocks. :)

