Need a new wall decoration for your room? Here’s one DIY idea you might enjoy!
A string and nail wall decoration is a great creative project for using up all excess nails and timber or plywood. And aside from being inexpensive, it is also fun because it’s an art project that anybody can successfully make. No special skills or talent required! And you can definitely do this together with the kids. Just make sure not to leave them unattended, especially with the small nails lying around!
What’s great about the project featured here is that it uses all light-weight materials, making it easier to do and safer to display in any room. As you can see the owner of this project even hung it above their baby’s crib.
Read on to learn how they did it and be inspired to make your own version. :)
What other additional materials do you think can also be used to create a unique string art?
Click on any image to start lightbox display. Use your Esc key to close the lightbox.![]()
Materials:
- 3 pcs – 2’x4′ Cork Roll
- Assorted colours of Embroidery Floss
- 4 packages – 11/16″ Linoleum Nails
- Heavy-Duty Velcro Hanging Strips
Tools:
- Hot Glue Gun
- Scissors
Optional:
- Paint
- Mini Styrofoam Roller
- White Duct Tape
[adinserter block=”11″]
Steps:
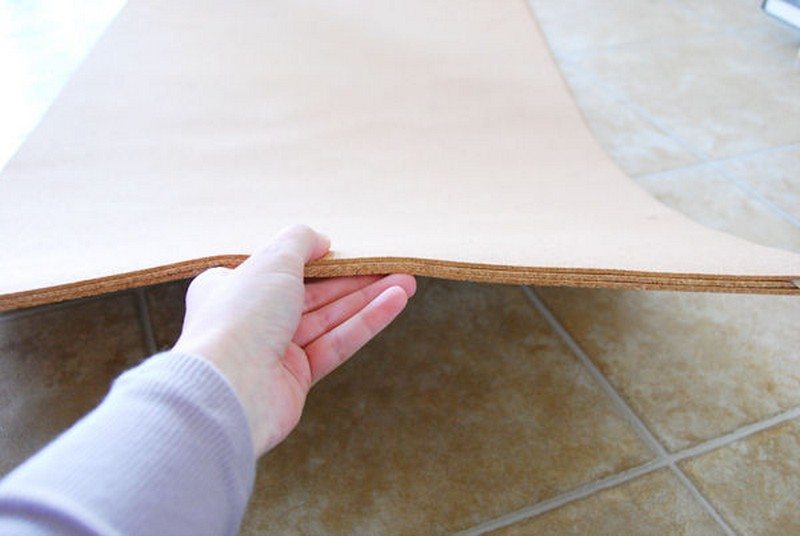
Flatten your cork and glue it together. Before I started this project, I unrolled the cork boards and placed a bunch of heavy books on them to straighten them out a bit. I left them like this for a day.}
Each piece of cork board is only about 1/32″ thick – definitely not enough to hold a nail stable. So I stacked three together. Use your glue gun to glue them together. Put them back under some heavy books for an hour or so so allow to dry completely.
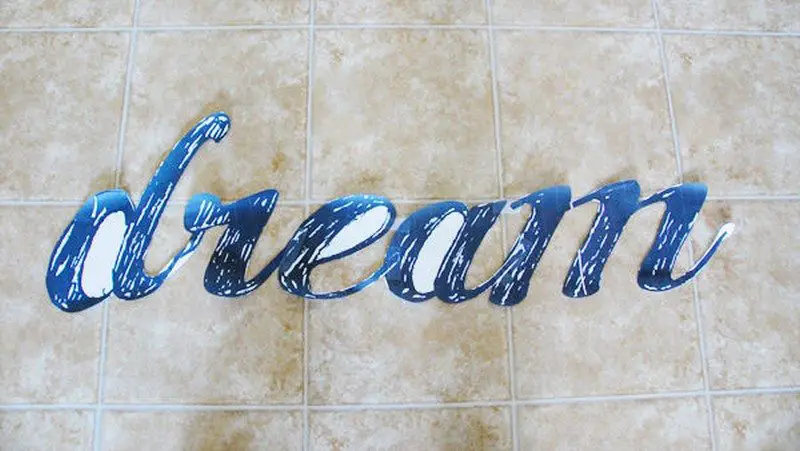
Create your word template. You will most probably be printing your chosen word on more than one or two papers. Cut the letters all out and assemble into a single word using some Scotch tape.
Reinforce the spaces between letters with some additional tape. That will make the entire template more stable to work with. Don’t worry about cutting out the inside of some letters like “d”, “e” and “a”. Not necessary!
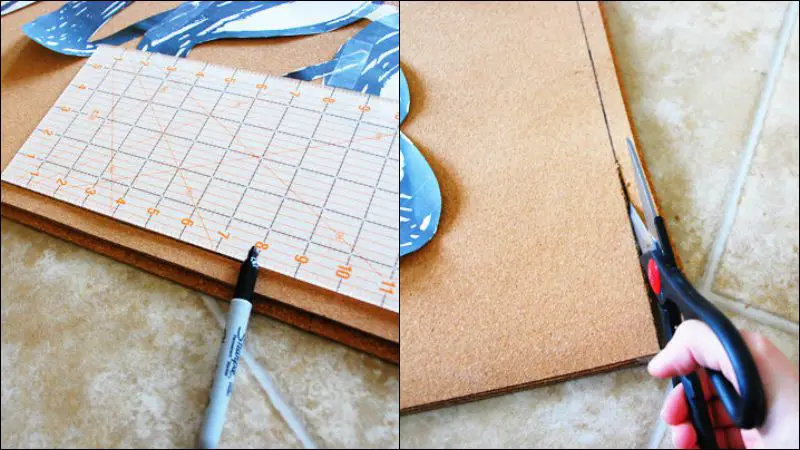
Center your template out on your cork board. I decided there was too much cork at this point and wanted to trim away a few inches from the top and bottom.
Important: Do NOT trim your cork board with a box cutter! It will totally shred and fall apart on you. Use scissors and it will cut nicely with minimal shredding.
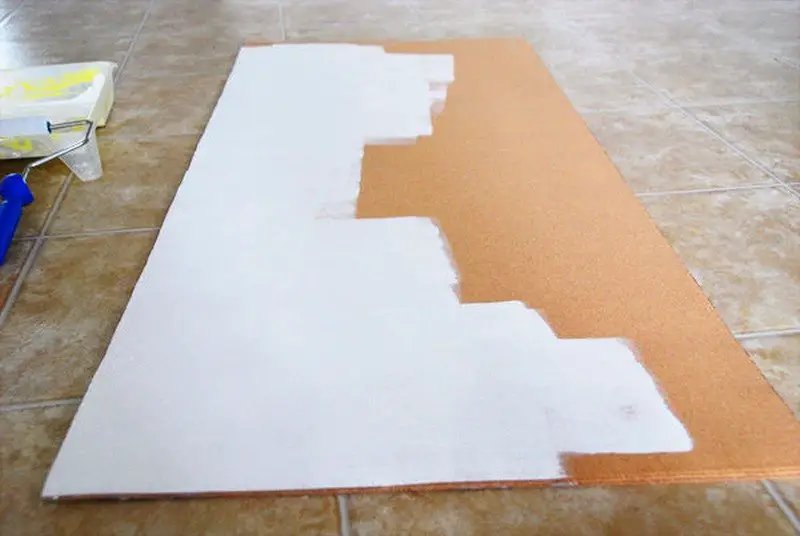
I really wanted the look of a white background for my string art so I decided to paint the cork. If you’re fine with the cork color/texture background, then feel free to skip this step.
(When the paint dried, there was a little bit of buckling of the top layer of cork board and I could see where I had missed spots with my hot glue. Don’t worry if this happens to you, it’s completely not noticeable after you’re done.)
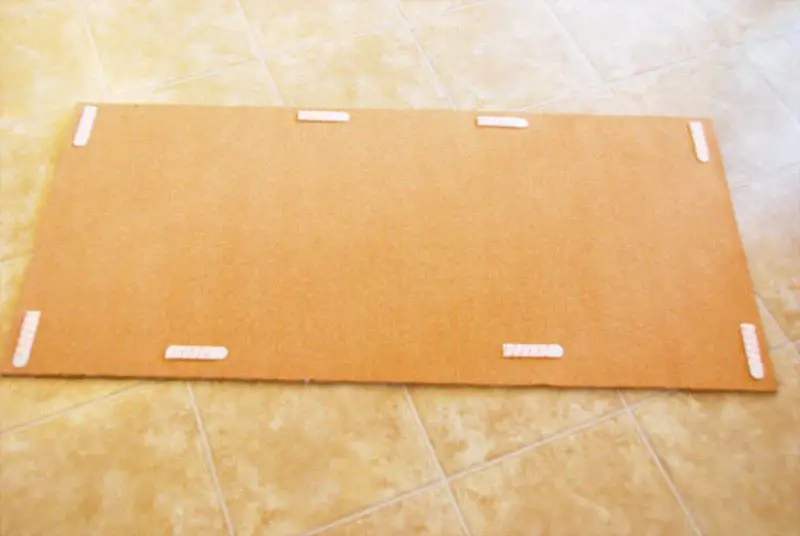
At this point you’ll want to flip the entire canvas over and apply your hanging strips. Do this now so that you don’t have to deal with it once all your nails are in.
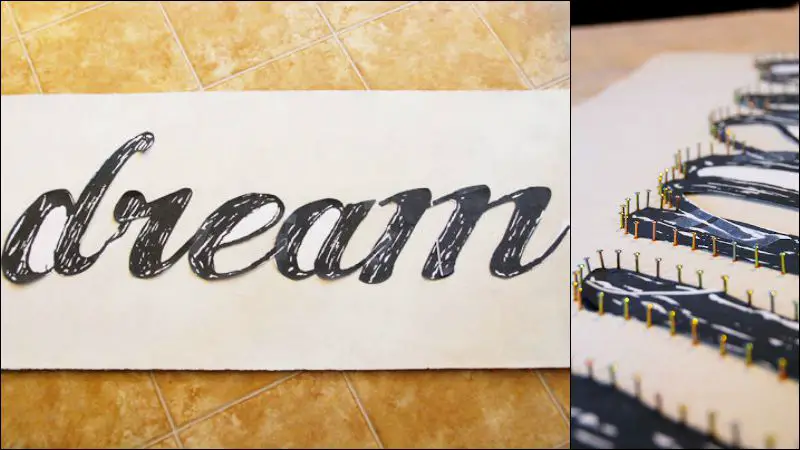
Center your template and tape it down.
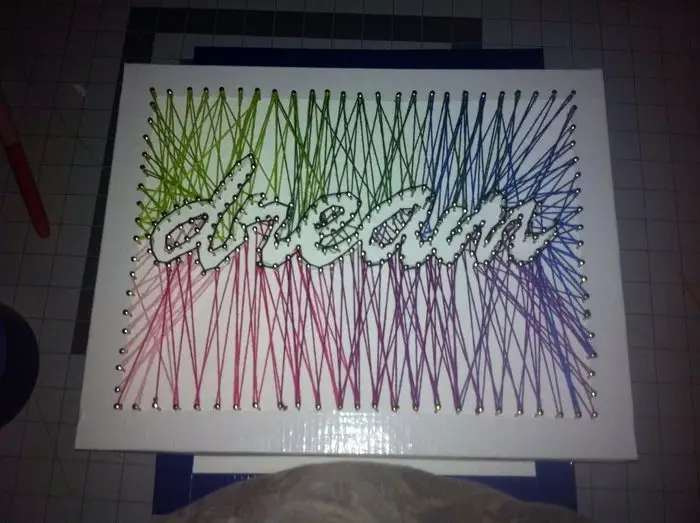
Insert your nails into the cork, following the outline of your template. They should push in fairly easily with a little pressure (except when you hit a glob of hot glue below…then you’ll need to push a bit!) Trace the inside of the “d”, “e” and “a” by pushing the nails right thru paper.
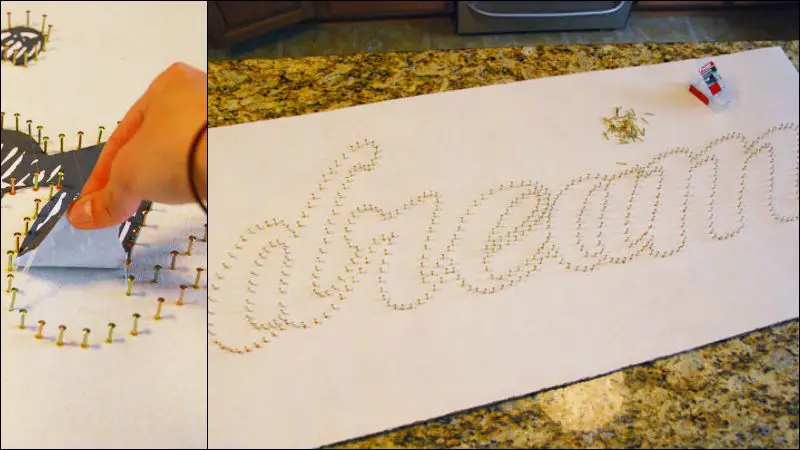
When you’ve traced the entire template, carefully remove the paper. Work slowly and you’re nails will stay in place.
Here’s my canvas ready for stringing! I actually thought it already looked pretty cool at this stage.
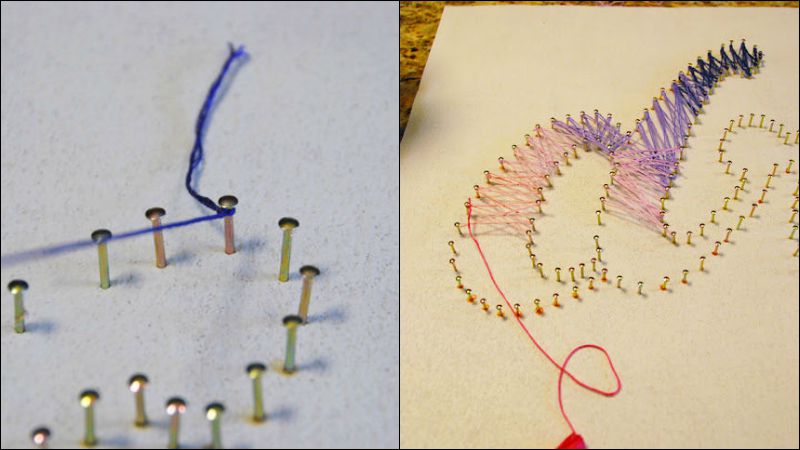
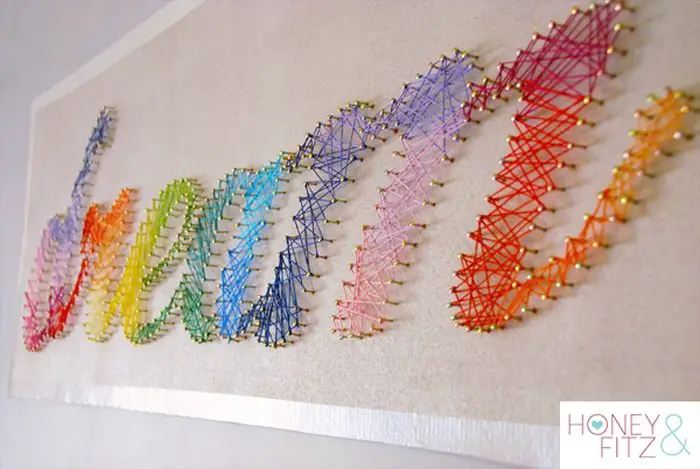
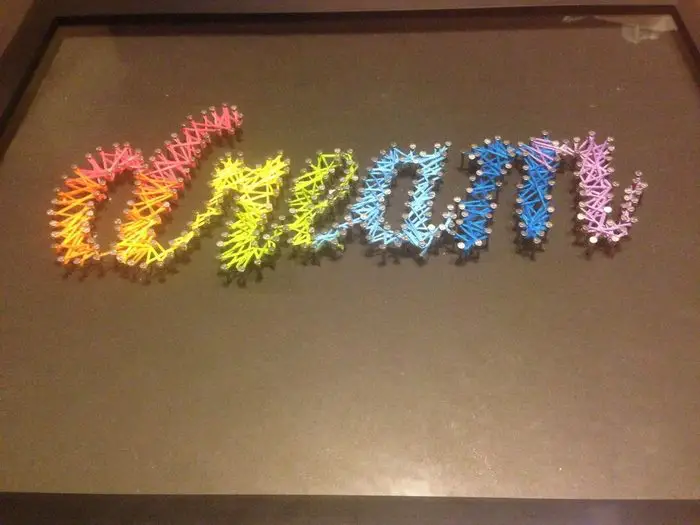
Now the fun part – stringing! I decided to do this in a rainbow spectrum effect but you could easily do it in all one color as well.
Starting with my dark purple, I tied onto a nail at the top of the “d”.
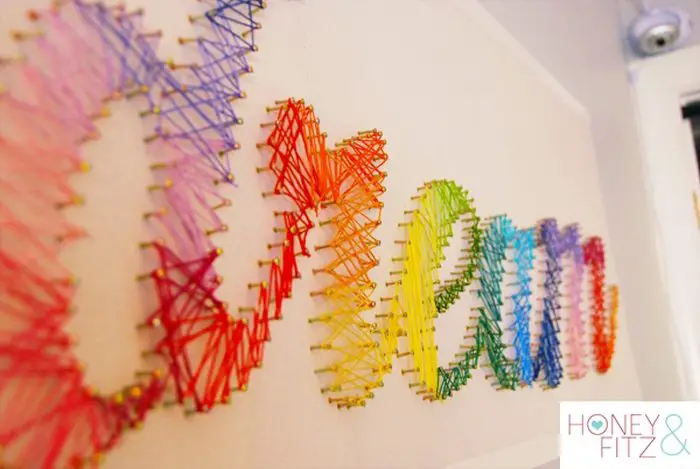
Now you’re on your way! Just start weaving in a back and forth fashion. The less you think about this the better. I actually found it to be quite therapeutic. Just let it flow. If you don’t like the way a certain section looks, unwind and do it again. It’s very forgiving!
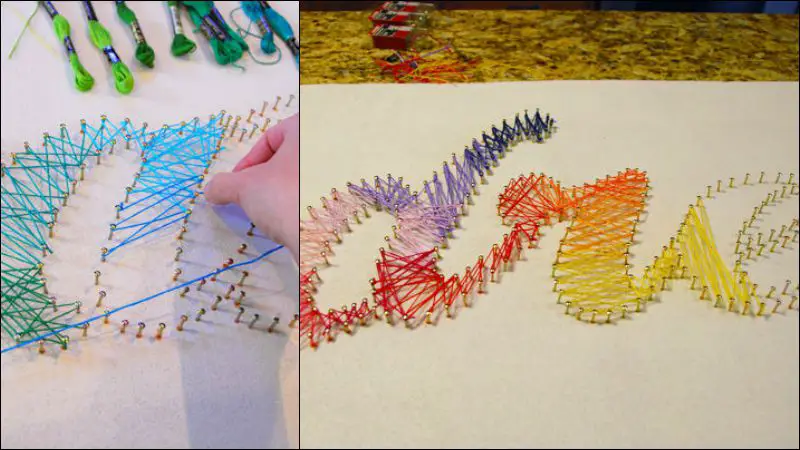
I kept moving through the color spectrum as I worked my way through the word. I found that overlapping the colors a bit helped to blend each color into the next.
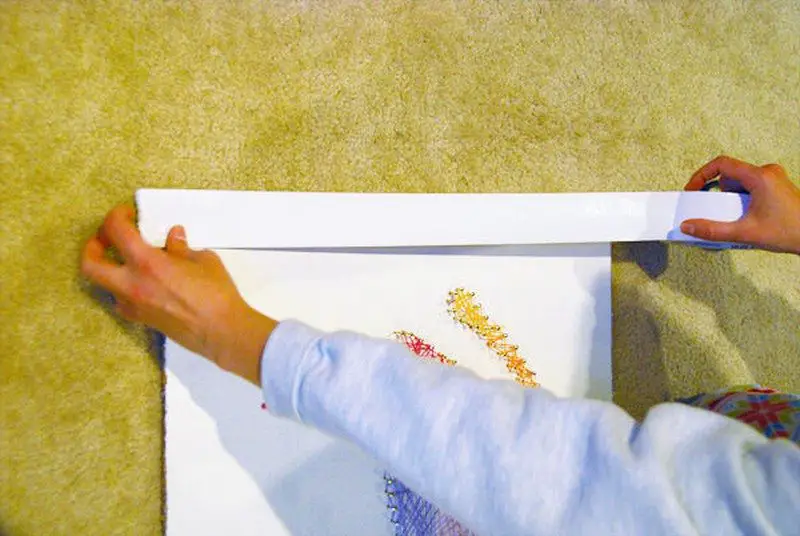
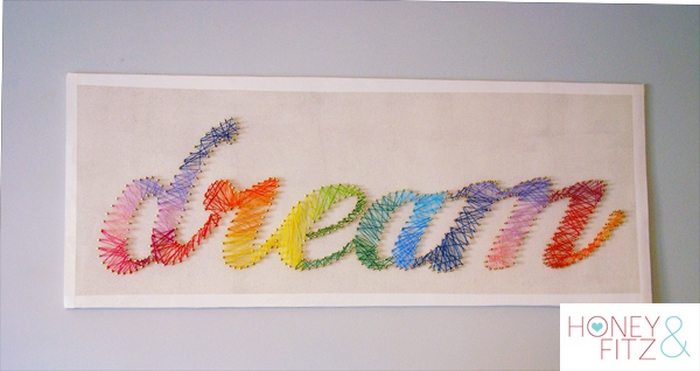
The last thing I did was to frame out the whole piece with some white duct tape. The edges were looking a little raggedly after I trimmed them and I wanted a cleaner look.
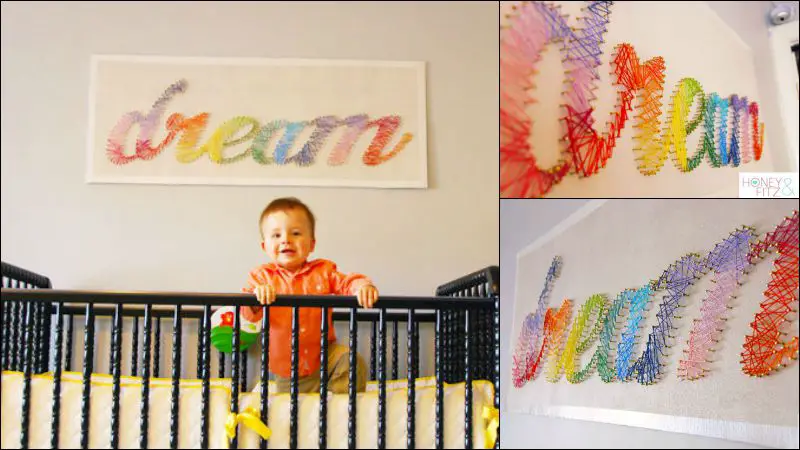
This is how it looks now, hanging on the baby’s room! Since the entire wall decor is lightweight, parents can worry less about it falling on their babies ;)
Love this idea? Don’t forget to share with us your creation should you decide to make one!
Thanks to honeyandfitz for this great project!