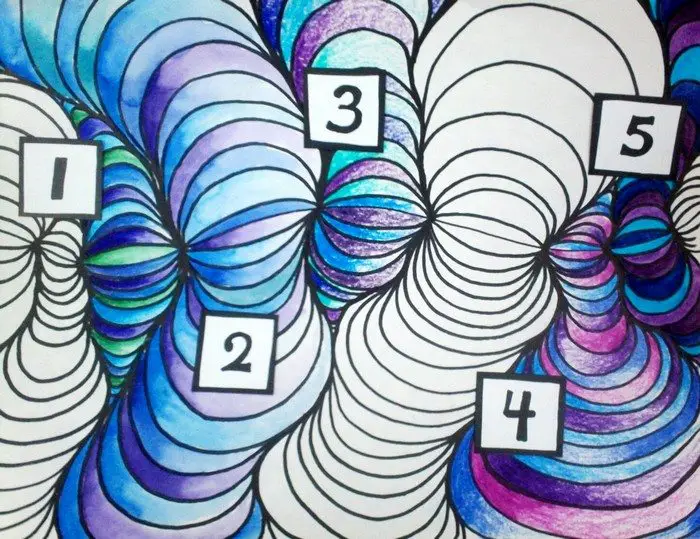
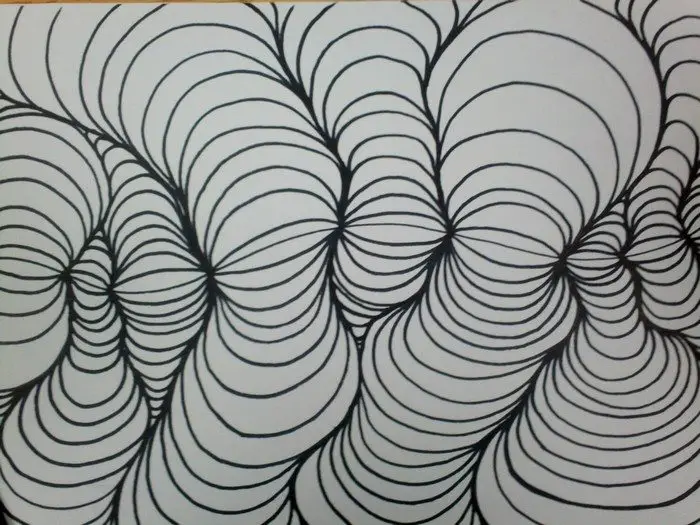
Now here’s something to keep the little kids busy this weekend. It’s simple, easy, addictive and definitely worth displaying on the wall!
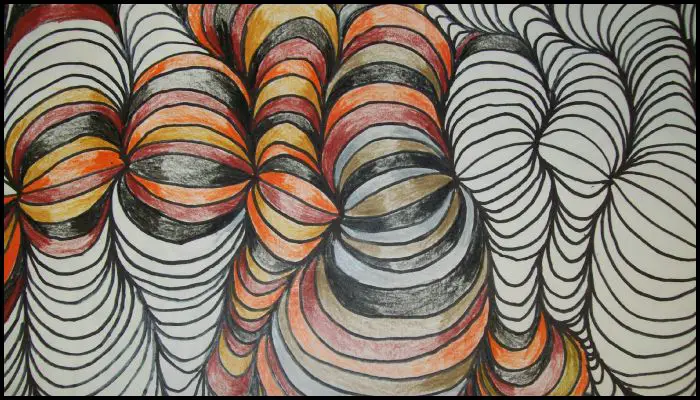
This art project is just one of the many creative ideas taught yearly by art teacher Ted Edinger (also known as Mr. E). Lots of his students have created really impressive versions of this, and several other parents and teachers have borrowed his idea to teach to kids as well. :)
It’s a fun activity that will surely be a hit and also beneficial as it develops the artistic side!
Want to create your own version of this together with the little ones? Then get your quick art lesson now with Mr. E’s tutorial below!
Materials:
- 9 x 12 Paper – consider the colouring medium that you are going to choose
- Sharpie Marker
- Colouring Medium – Watercolor Pencil, Watercolor, Crayons, Colored Pencil, or Marker (see bottom of the post for more notes on this)
Steps:
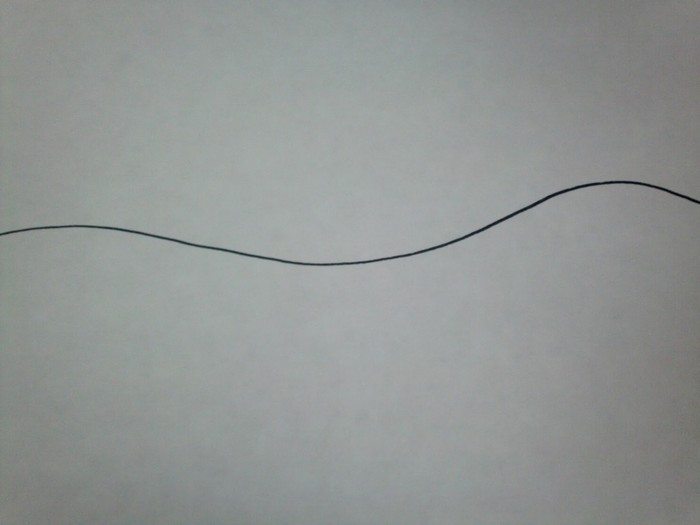
Start with a gentle curve line across the paper. Don’t go too crazy hilly with the line…it will make it difficult in the steps that are to come!
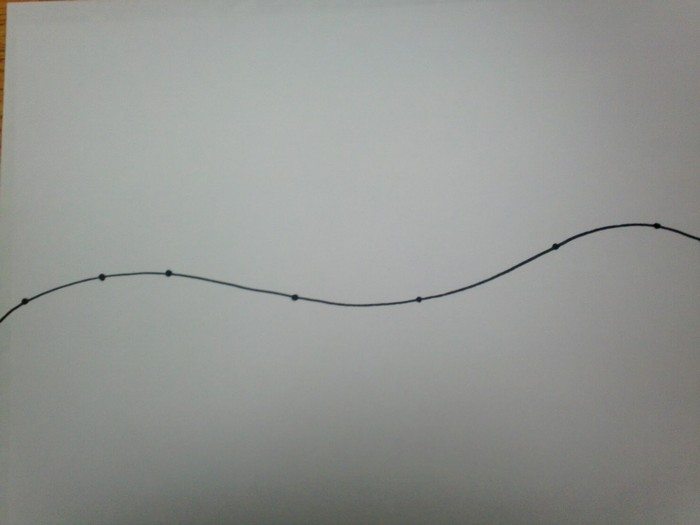
Place eight dots on the line spaced at different distances.
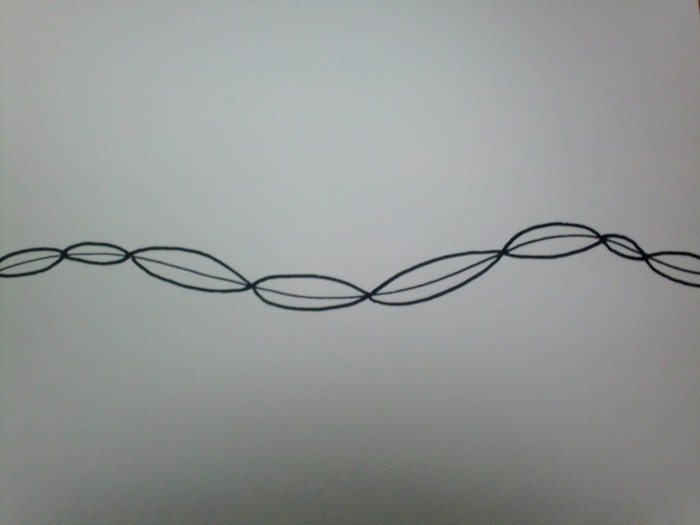
Go dot – to – dot across the entire line. Do not continue to do this however…or it will create a kind of boring column like work(going straight up & down).

As you are going dot -to- dot, you need to “camp out” on some of the segments. This will help them to balloon out & look oh so cool! This will also cause others to be “pinched off”…and that is fine. The lines need to continue off of the paper…and should not just stop cause they are close to the edge. As it gets bigger and bigger, the lines will have to be shared going back to the dot…and yes..they should really go back to the dot. Going back to the dot each time creates the darker shadow”ish” areas that help create depth.
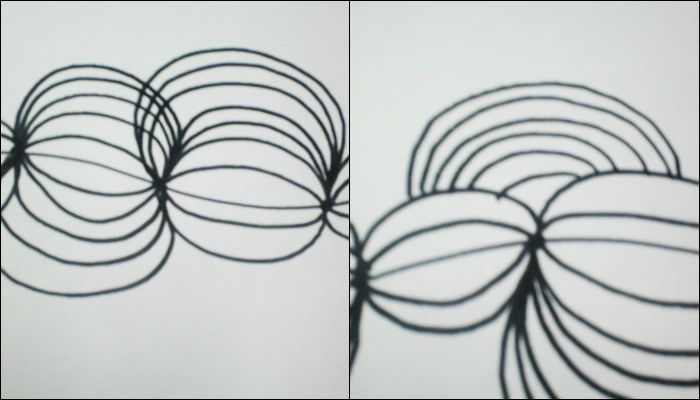
The two pictures above are the WRONG way to do this. The lines should NEVER criss-cross each other. I tell my students that the lines can share a path…but never cross over another line. The second picture is the “RAINBOW CONNECTION”. It is a lot easier to do it that way..but it is not correct.
So here you see the results of the ballooning out, pinching off, and going off the edge of your paper.
- Watercolor Pencil – A little labor intensive, after you color it..you have to go over with with a brush.
- Watercolor – I like this a lot, but you would need to make sure the students understood to not put color beside color because of bleeding.
- Crayons – This works much like colored pencils, but they are a bit chunkier so it’s hard to get into the small spaces.
- Colored Pencil – This is how I usually do the project with my students…I love colored pencils!
- Marker – This kind of takes the shading element out of the project, but if you were going more for color families and such… could work!
Here are more work samples from the kids in Mr. E’s classes…
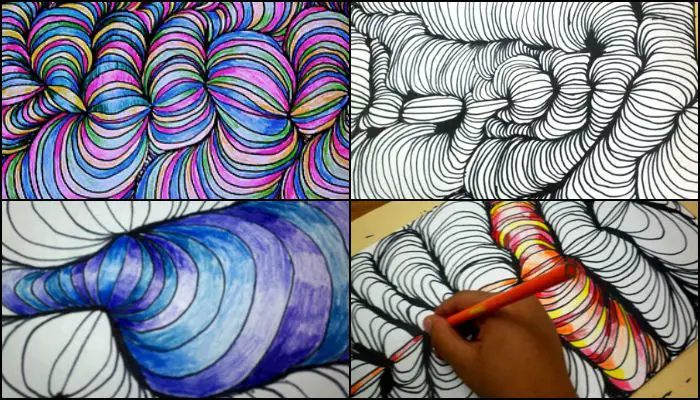
Is this going to be your weekend activity with the kids? :)
Thanks to Ted Edinger for this wonderful project! Take a look at his amazing site. It’s full of fun and creative art project ideas for kids!

